How To Do The Three Peaks Hike, Grebaje Valley
When it comes to raw mountain beauty versus the effort required to reach it, the Three Peaks hike might just be the best bang-for-your-buck trek in Montenegro.
There are big views, dramatic lookouts, and multitude of ridges, folds, and jagged peaks to take in - and they’re all found along a trail that won’t break you.
Whilst Bobotov Kuk in Durmitor offers more bragging rights, this 10km ‘lollipop’ trail on the western fringe of Montenegro’s lesser-visited Prokletije National Park is just as rewarding.
In fact, we’d go so far as to call it the more scenic hike of the two.
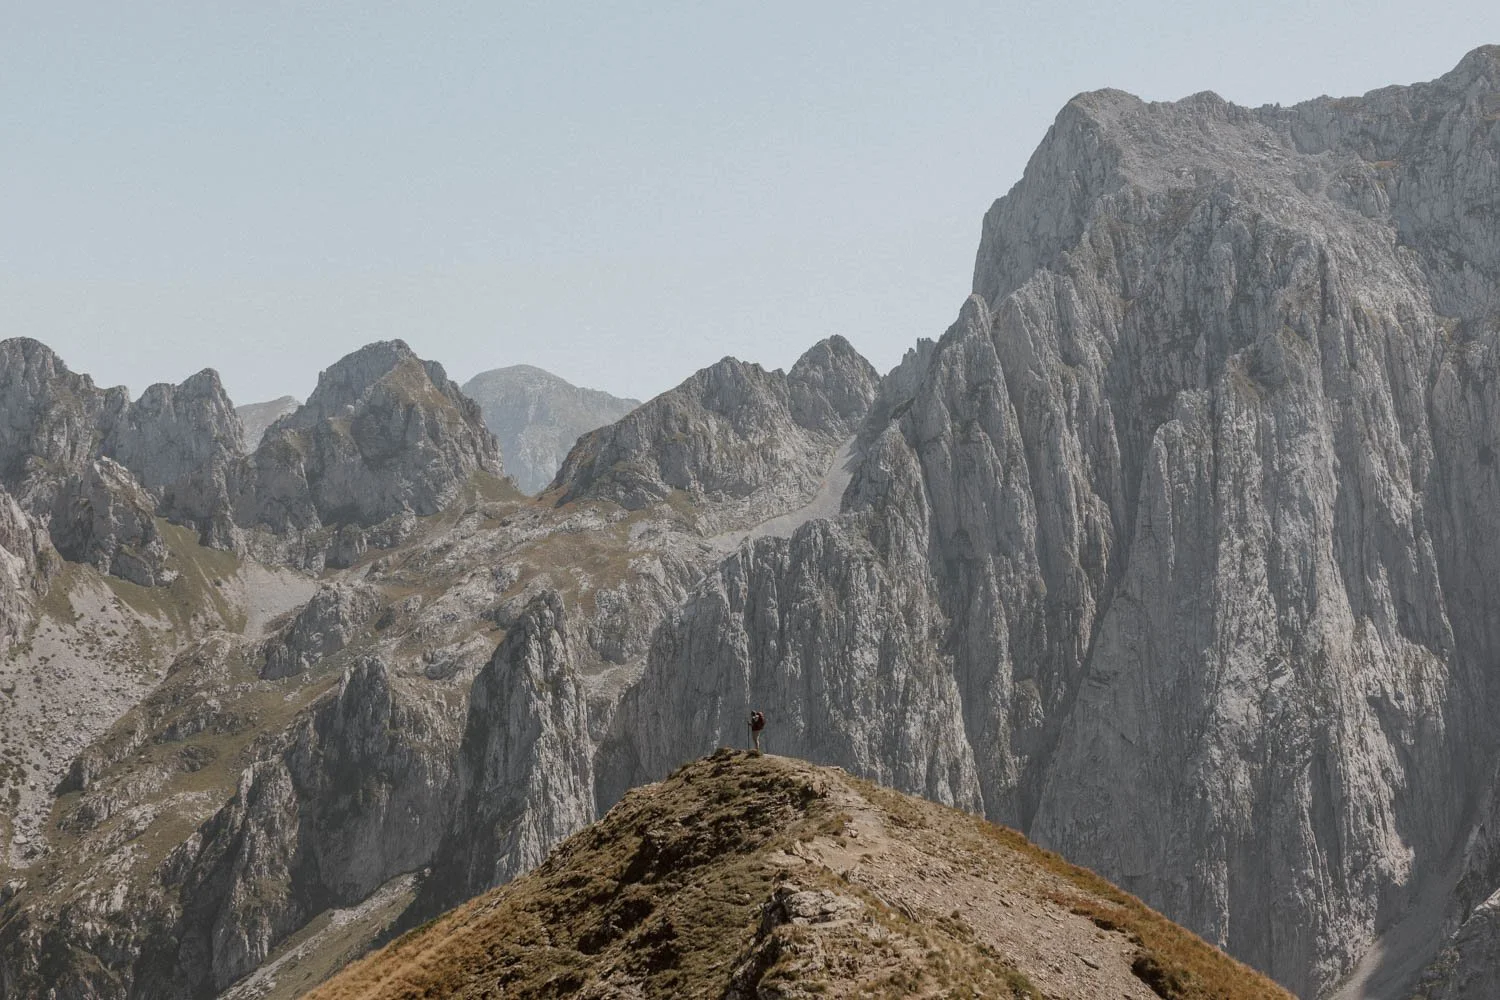
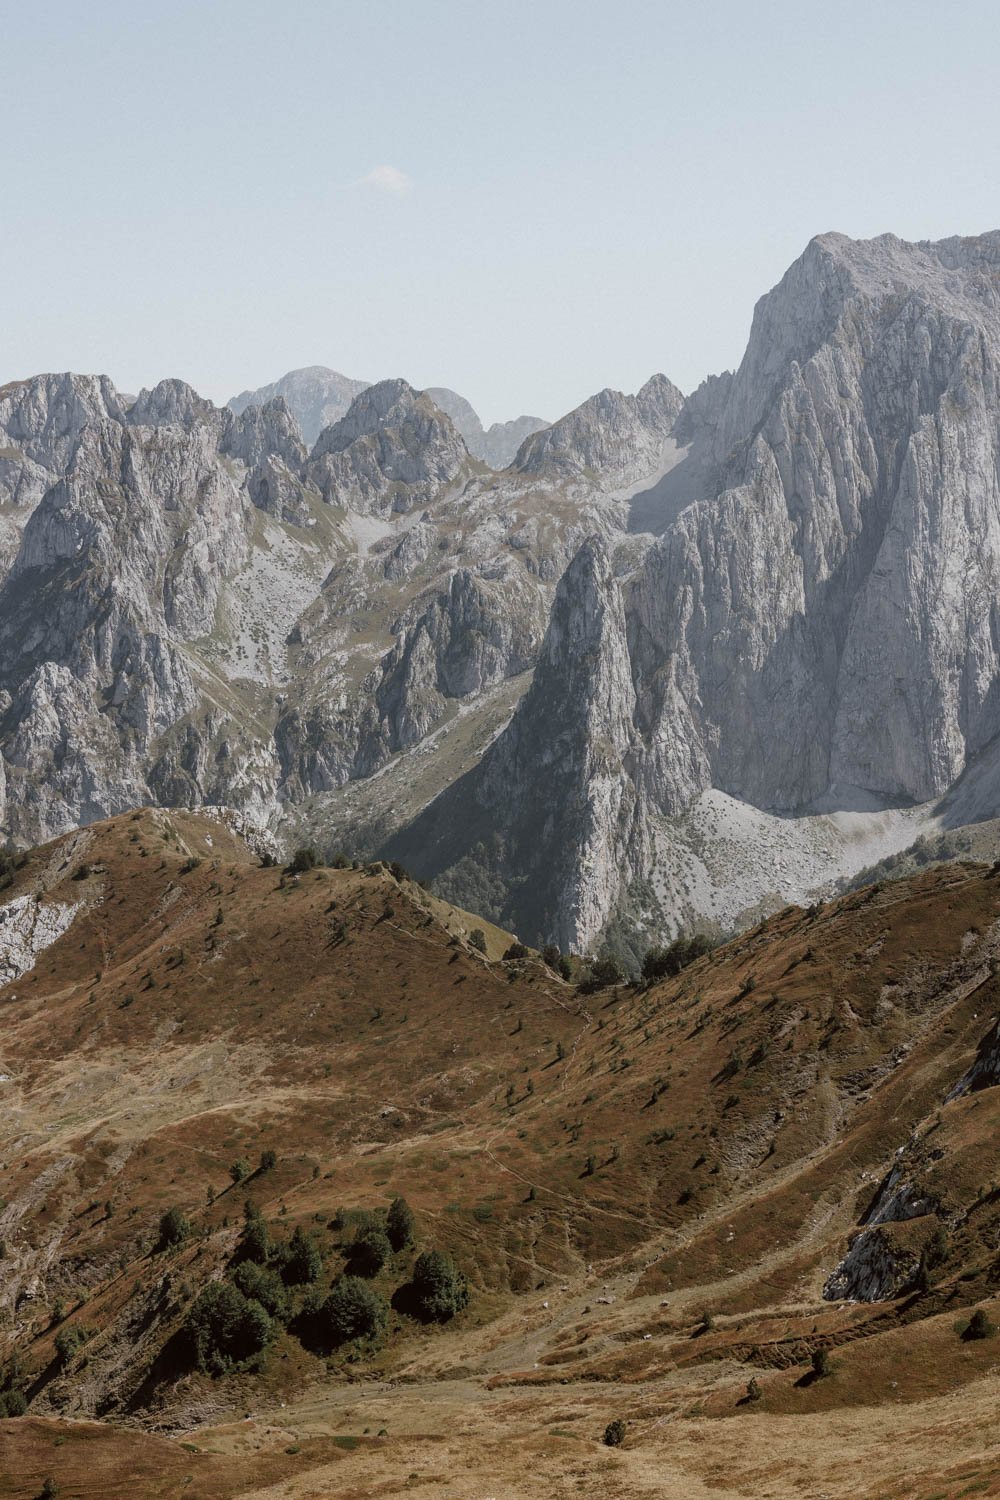
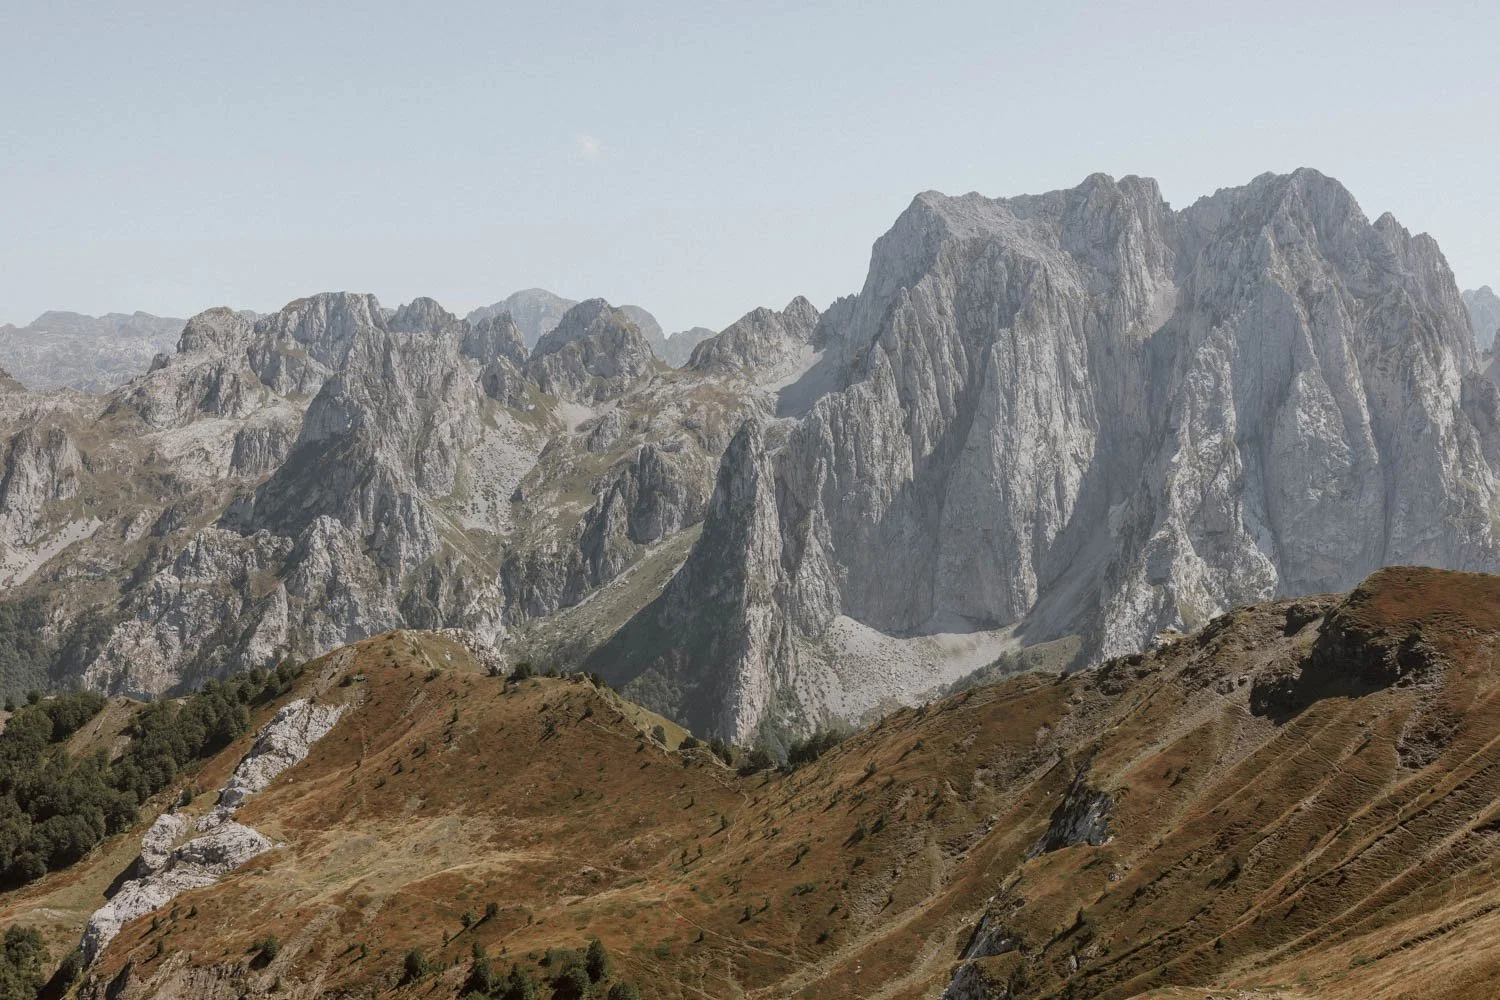
Winding through the Grebaje Valley - a haven for hikers seeking rugged landscapes and unspoiled wilderness - the route links together Volušnica, Popadija, and Talijanka. This trio of peaks, effectively forming the border with Albania, offer constant, breathtaking panoramic views down into the valley floor with mountains on all sides.
In this short, practical guide, we’ve shared everything you need to know for the Three Peaks Hike in Montenegro: from how to get there by car and public transport, what to pack, tips on how to choose the best route direction, and proper advice on the best place to base yourself.

The Three Peaks Trail Essentials
Beautiful 10.5km day-hike loop inside Prokletije National Park
966m elevation gain
Moderate difficulty with some steep ascents
Trailhead starts + ends in Grebaje Valley-here on Google Maps
Go left at fork for easier ascent, right for easier descent
More about scenery than speed: give yourself 6-8 hours to enjoy it
Best done from May to October
Park entrance fee of €3 required
No facilities - bring layers, good footwear, and food/water
Base yourself in Grebaje, Plav, or the countryside - WildBeauty
Free parking available near trailhead
See map + route profile here on AllTrails
A Hike Has Many Names
A very quick bit of housekeeping before we get into the details.
When planning our three-week road trip in Montenegro, we knew we wanted to visit the Grebaje Valley and do a hike within Prokletije National Park. However, we kept getting confused on what to prioritise as several kept coming up as an ‘unmissable’ day hike: the Volušnica Loop, Three Peaks Loop, and the Volušnica Hike.
We eventually realised that all of these referred to the exact same trail, which we’re going to consistently refer to as The Three Peaks Hike.
It starts and ends in the Grebaje Valley, which is located within Prokeltije National Park, so from our perspective it also killed two birds with one stone.
Good to Know // The Prokletije are Montenegro’s section of the Accursed Mountains, the rugged range that also stretches into Albania, where it’s also called the Albanian Alps. Prokletije literally means ‘Accursed’ in Serbian by the way, and it’s such a bad ass name for a range.


How To Get To Grebaje & Entrance Fees
The Grebaje Valley isn’t on the standard Bay of Kotor-Durmitor-Budva tourist route, and therefore needs to be intentionally included on your Montenegro itinerary.
Both the valley and the trailhead sit in a remote eastern corner of the country, near the border with Albania. From Podgorica, the capital, the drive is roughly 3 hours, and closest hubs are the small town of Gusinje (7km) and the larger lakeside town of Plav (19km).
You can find the Grebaje Valley here on Google Maps.
By Car
It’s mostly good road and a straightforward drive, but there’s a wild series of hairpins to deal with at Trešnjevik.
After driving through Gusinje, it then becomes a very narrow, single track countryside road, so you’ll have to go slowly and pull to the side for any oncoming traffic (or vice-versa). There’s also a very distracting backdrop of the peaks as you get closer to the Grebaje Valley.
The road changes from tarmac to little white stones for the last stretch beyond the entry kiosk for the National Park, but it shouldn’t cause any problems.
Parking is all on the right hand side, but mostly reserved for restaurants and accommodations. We arrived really early in the morning to be the first on the trail, but couldn’t find any official public parking areas after doing a couple of circuits. A man with a fluffy Alsatian told us to ‘park wherever you like’, so we settled on the big empty grassy area right by the trail start point - here on Google Maps. Loads of others were parked there by the time we ended the Three Peaks hike, so we assume that’s the best place to aim for! It was also free - let us know in the comments if the situation changes or the parking situation becomes more 'official'.
Plan // 15 Essential Things To Know Before Driving in Montenegro

By Bus & Taxi
Unfortunately you won’t find any direct public transport to the Grebaje Valley. Instead, most travellers rely on a combination of bus & taxi.
The options are:
· Several daily buses from Podgorica to Gusinje (around 4 hours, €12 one-way), then take a taxi to the trailhead - or walk!
· Several daily buses from Podgorica to Plav (around 3h 45m, €12 one-way), then take a taxi to the trailhead.
You can find many Montenegro bus schedules on BusTicket4.me. We haven’t been able to locate reliable information on how much a taxi would cost from either of those towns, so please do let us know in the comments so we can update the post to help out other travellers.
As Gusinje is 7km from the start point, that’s going to be the better and cheaper option of the two if you’re reliant on public transport.
Travel Tip / Staying within the Grebaje Valley is the obvious choice for most backpackers and road trippers. It’s a beautiful, peaceful setting, with a handful of simple cabins and guesthouses, plus a large campsite for tents and campervans - though only a few restaurants.
Highly-rated options include: WildBeauty, Bungalows Tuzovic Prokletije and Bungalows Katun Maja Karanfil.
However, if you’ve got a car, we don’t think that it’s the only base option if you want to do the Three Peaks Hikes. We’ve got a whole section on the alternatives at the end of this post - definitely worth a look before you book anything.


Entry Fees & The Annual Pass
As it’s within Prokletije National Park, you’re required to pay the National Park’s day entrance fee of €3 per person to do the Three Peaks Trail.
This will also cover you if you’re visiting anywhere elsewhere within the park on the same day.
You can pay on arrival at the small kiosk mentioned earlier - on the right hand side as you drive into the Grebaje Valley - or you can purchase in advance on the official website. This kiosk wasn’t open when we arrived at 7.10am, but the gentleman did ask us to pay/show our passes when we were driving out.
Card is accepted, but it’s a good idea to carry cash.
Travel Tip // As outlined in our Hiking in Montenegro and 23 Things To Know Before Visiting Montenegro posts, we actually bought the Annual Pass for Montenegro’s National Parks. It’s fantastic value at just €13.50 per person and offers unlimited entry to all five of the country’s national parks. If you’re planning to spend several days in Durmitor and/or visiting several others, it’s likely going to save you money overall.
You can purchase it quickly and easily on the official website (as we did) or in person at the entrance kiosks.

The Three Peaks of Grebaje Hike Route
The Start Point & The Ascent | 2.6km | 1 hour | Easy
This section covers around 2.5km - all at a gradual ascent - with a varying trail of large rocks, small pebbles, and dirt. It’s almost all under tree cover.
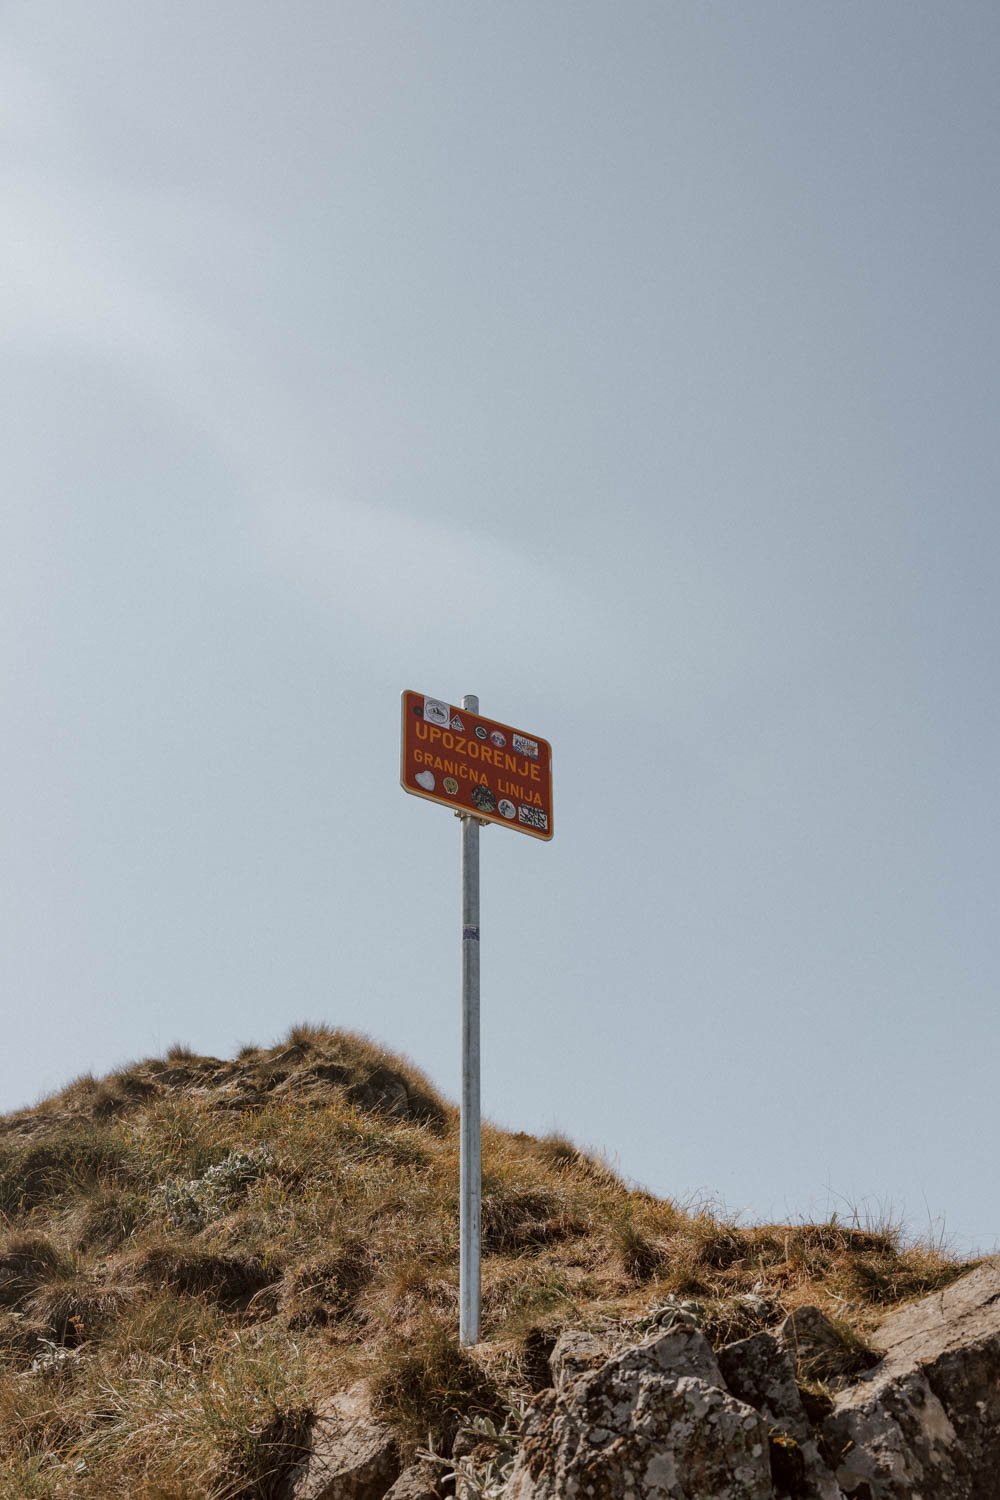
The hike start point is easy to find by the grassy area at the end of a short dirt track - here on Google Maps. You’ll see a yellow sign with ‘Volušnica 1879 - 3,3km - 2:30’ and two other hikes, a green bench, a faded map noticeboard, and a boulder with a spray-painted red and white circle.
As it’s also where most people park, expect a few cars around if you set off after 9am.
Your hike begins along the well-defined gravel path into the forest. Just over 1km in, you’ll arrive at the first notable landmark: a low rusting gate with Volšnica painted in blue on a white sign, and a split wooden red arrow pointing left: that’s your cue to go left.


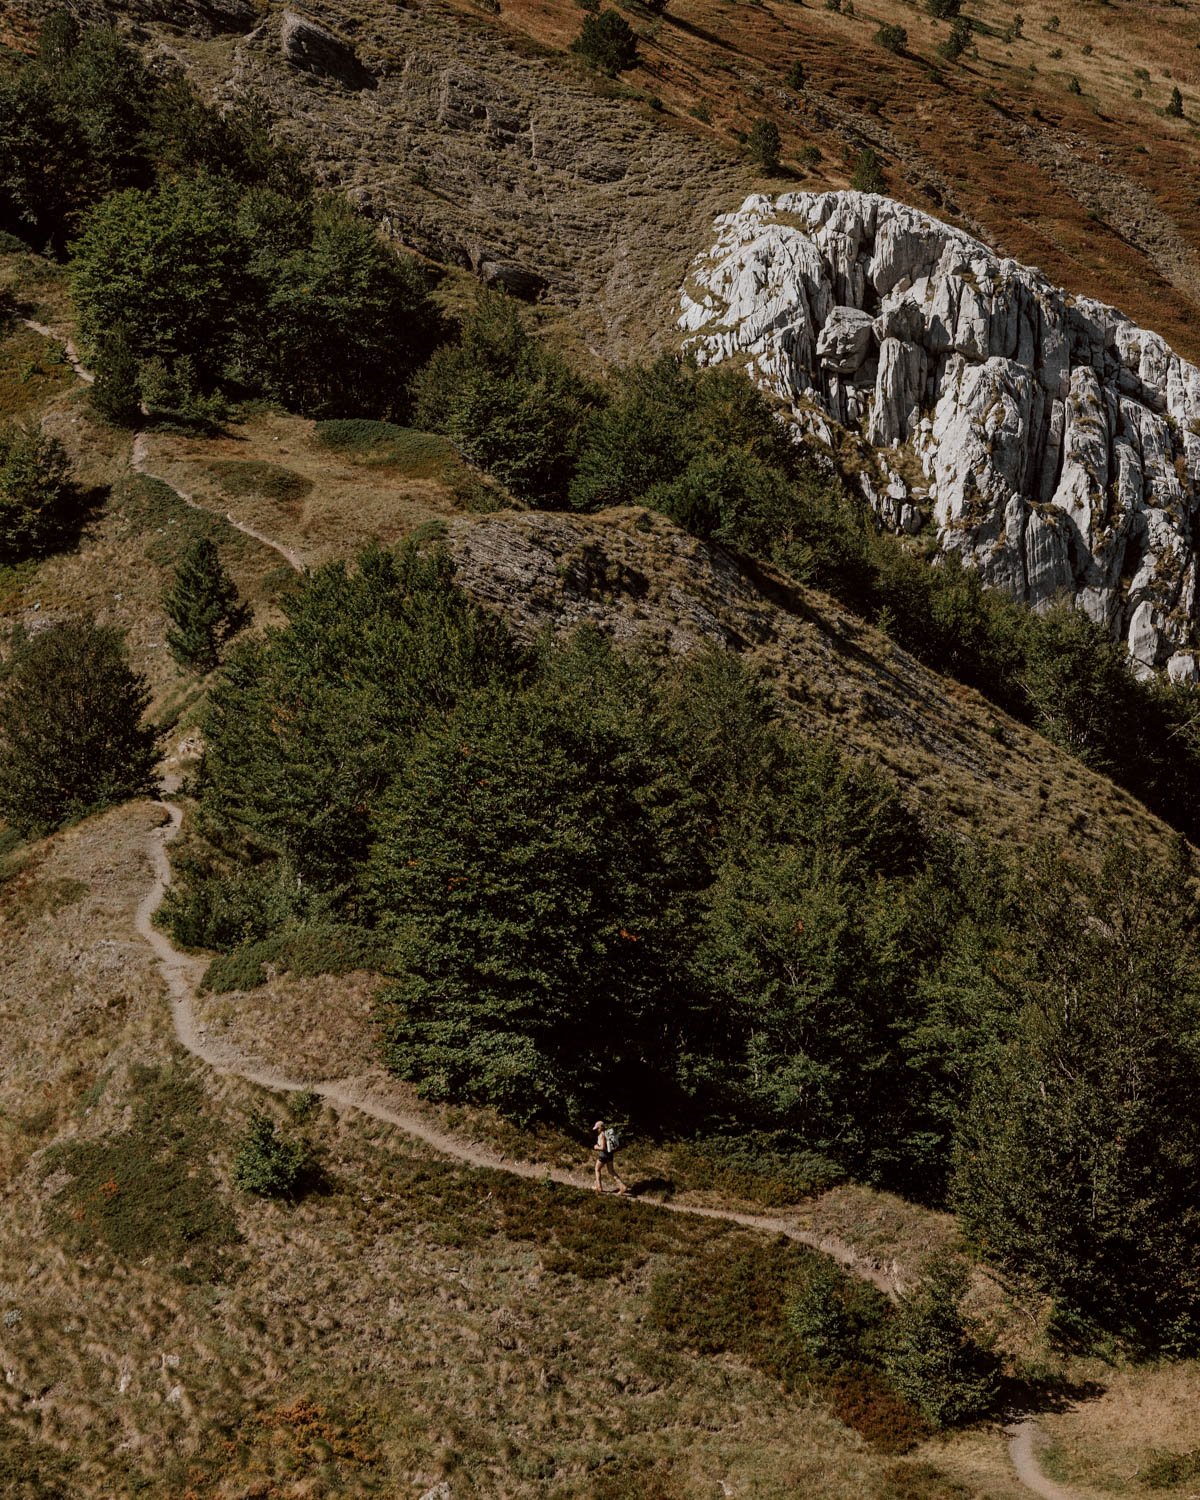
This takes you onto a steeper narrow path with a sheer drop on the left hand side, but nothing too dramatic. Dappled with sunlight, it’s visually very appealing.
The next notable landmark are the two trees spray-painted in red: the first one has an arrow pointing right (don't follow that), and the one behind it says Volsnica with an arrow pointing straight ahead (follow that).
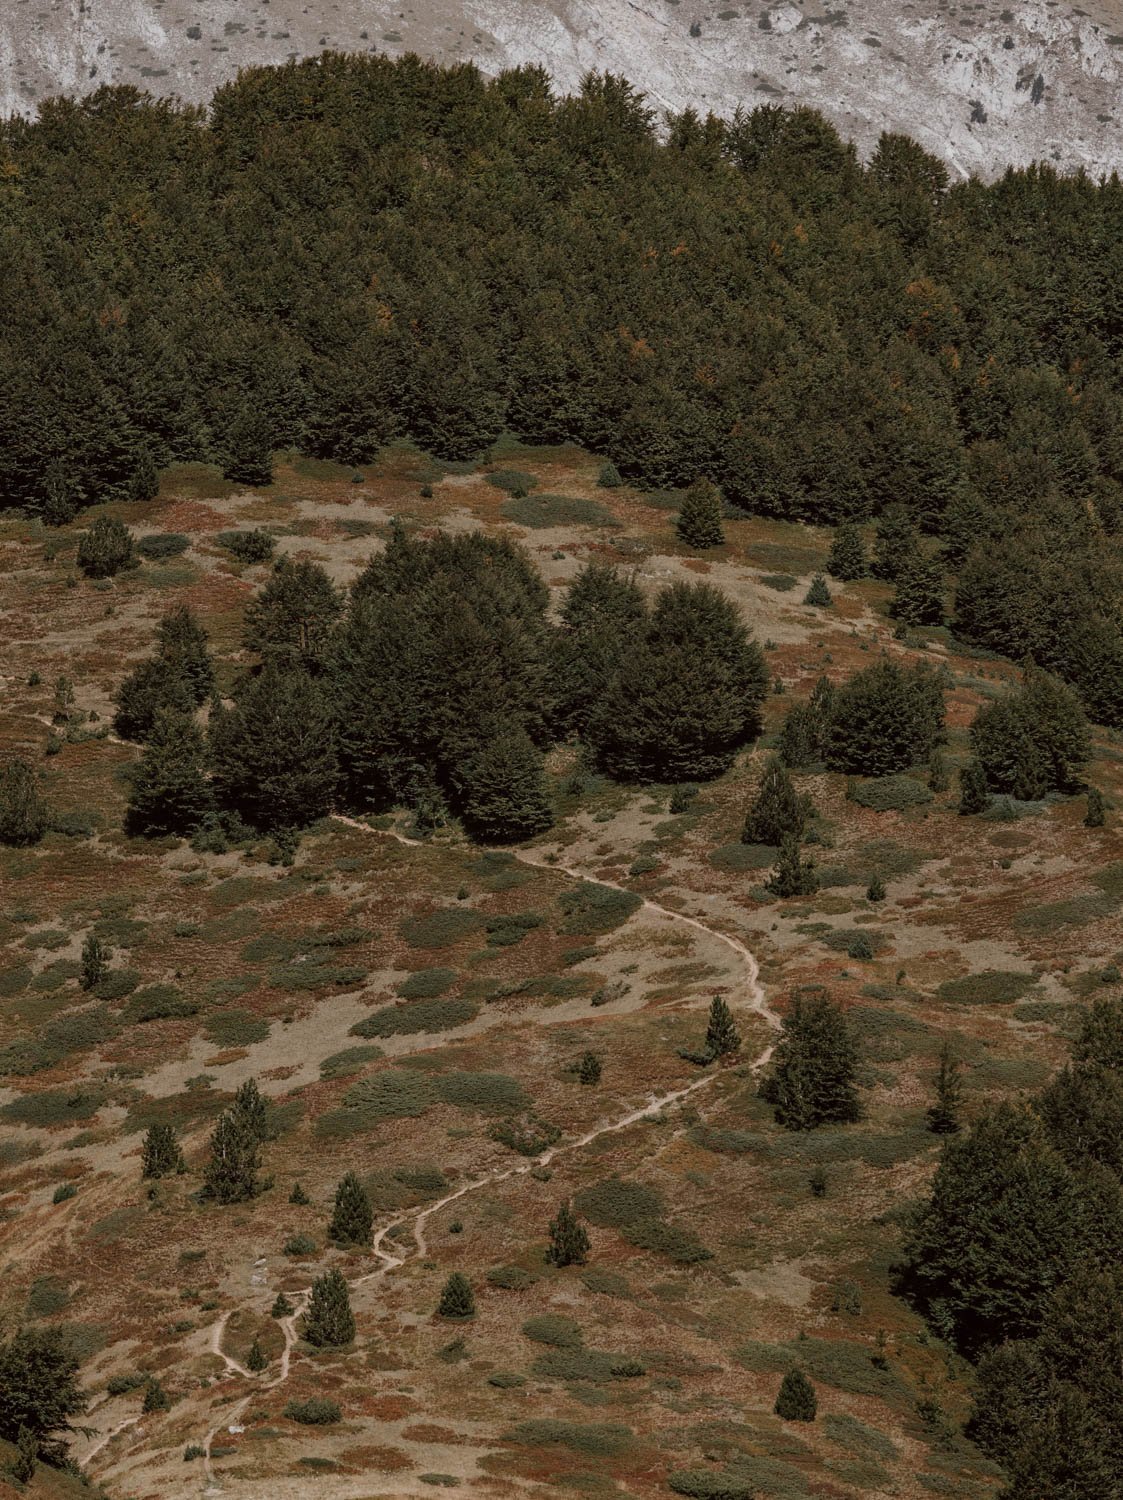
You’ll continue on the ascent until you exit the forest and emerge out onto a gorgeous grassy, open valley with wildflowers and low-rise hills.
Know // At 0.7km in, you’ll intersect with a trail joining on the right hand side. This is the alternative start point, coming up from the Royal Etno restaurant (Google Maps). Found on the right, just after the ticket kiosk, you may indeed be tempted to park there when you its big signpost Volsunica. However, we highly recommend you ignore that and set off from the main Three Peaks trailhead we shared earlier.

The Decision
It may be tempting to have your first proper break there on the valley, but we recommend a spot a little further on: by all means take a sip of water and catch your breath here though.
You’ll see that from this point the trail clearly splits in two, and whether you go left or right is the most important choice you’ll make for the Three Peaks Trail.
Sorry, we didn’t mean it to sound that dramatic.
Basically, whether you go left or right at the fork here, everyone will follow and complete the exact same loop between and along the three peaks. Everyone will use the same path and end up back right back at this point in the valley.
If you go right, you’ll tackle the steepest section of the hike soon after and arrive at Popadija then Talijanka first (the highest point of the trail).
If you go left, you’ll arrive at Valušnica first, with the aforementioned steepest section becoming a downhill descent on the final half of your hike.


We went left because somebody told us that was the best decision but, as the day wore on, it became quite clear that most hikers were going right.
Does that mean it’s the right choice? Not necessarily.
Going right means a tougher start (ascending from 1,627 m to 2,057 m), and we wouldn’t fancy doing that in the midday sun - but by front-loading the effort, the rest of the loop will feel like a breeze.
Going left, like us, gives you a gentler ascent (1,627 m to 1,879 m), but that short, steep section isn’t great on the old knees when going down.
If you go right at the fork - the most popular option - you’ll be walking in the same direction as most other hikers. Go left, and you’ll be walking against the flow, meaning you spend more time nodding or saying hello to everyone coming the other way - and possibly making way for them too.
As for views? Honestly, as photographers we’re always looking back as much as forward, and there was usually something spectacular behind us here. It’s probably the exact same situation if you go the other way round the loop, but going right perhaps just edges it for the better panoramas being ahead of you.
Based purely on our experience, we’re still a bit torn on which to recommend, which probably tells you there’s no huge advantage or difference!
The key takeaway for every hiker though? Whichever direction you go, make a habit of turning around often - the views change constantly and they’re incredible from every angle.
And, if in doubt, just go left at the fork like us.

The Plateau to Vulšnica | 1.4km | 40 mins | Moderate
So, going left at the fork in the valley will take you onto a narrow dirt path carved into the grass, and a gentle gradual ascent. There’s one small steep bit that may involve a scramble and use of your hands to clamber up and over.
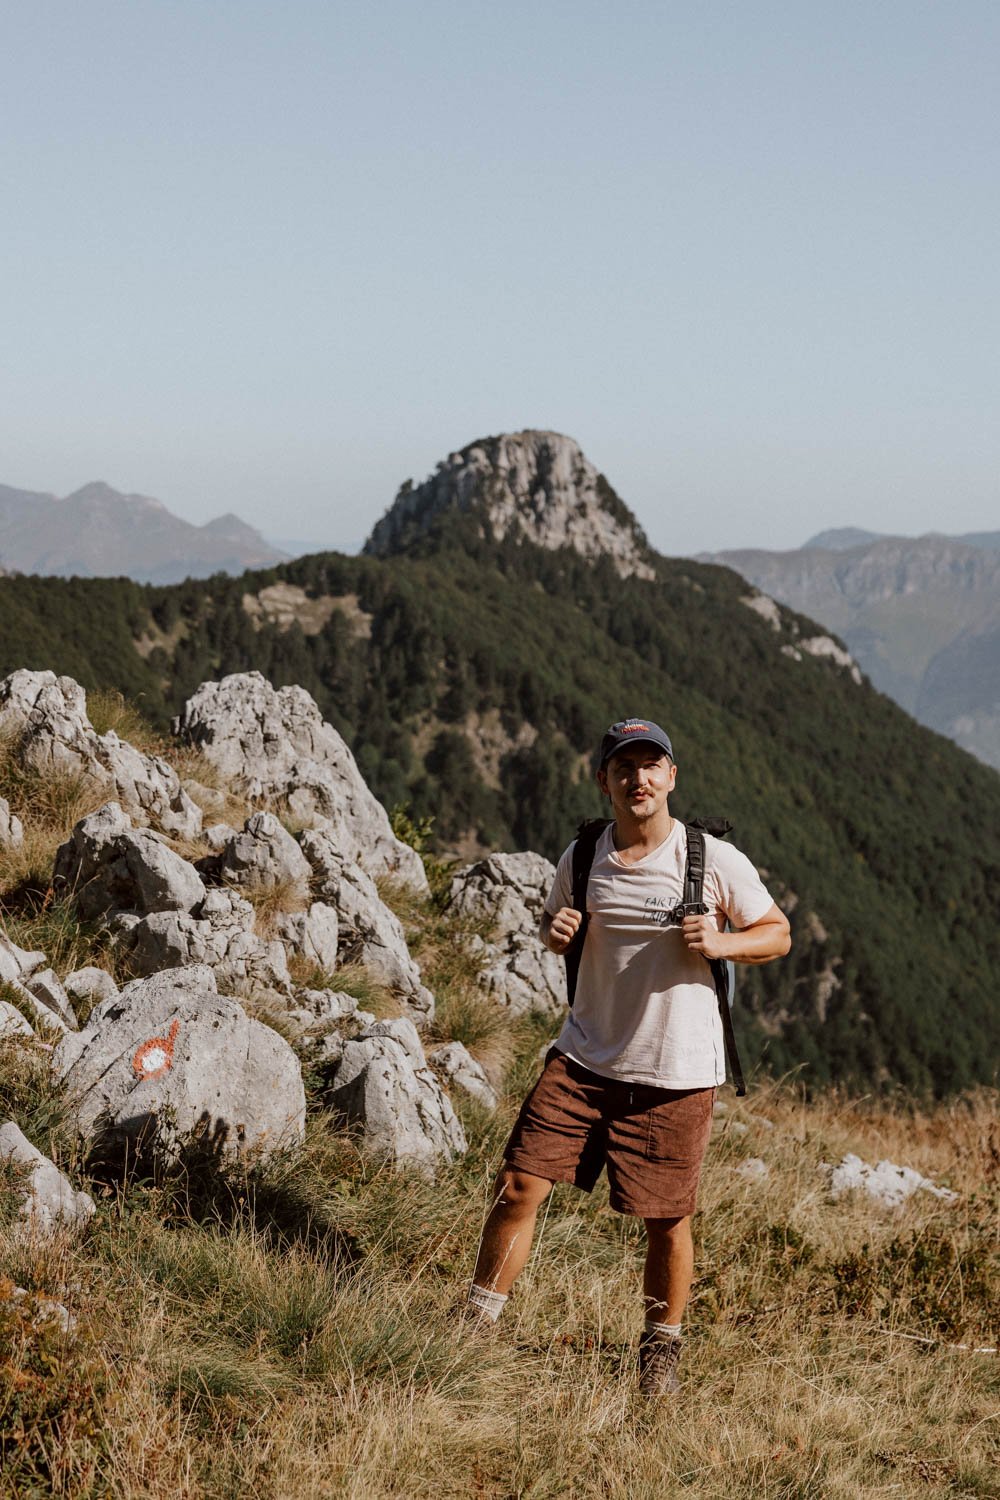
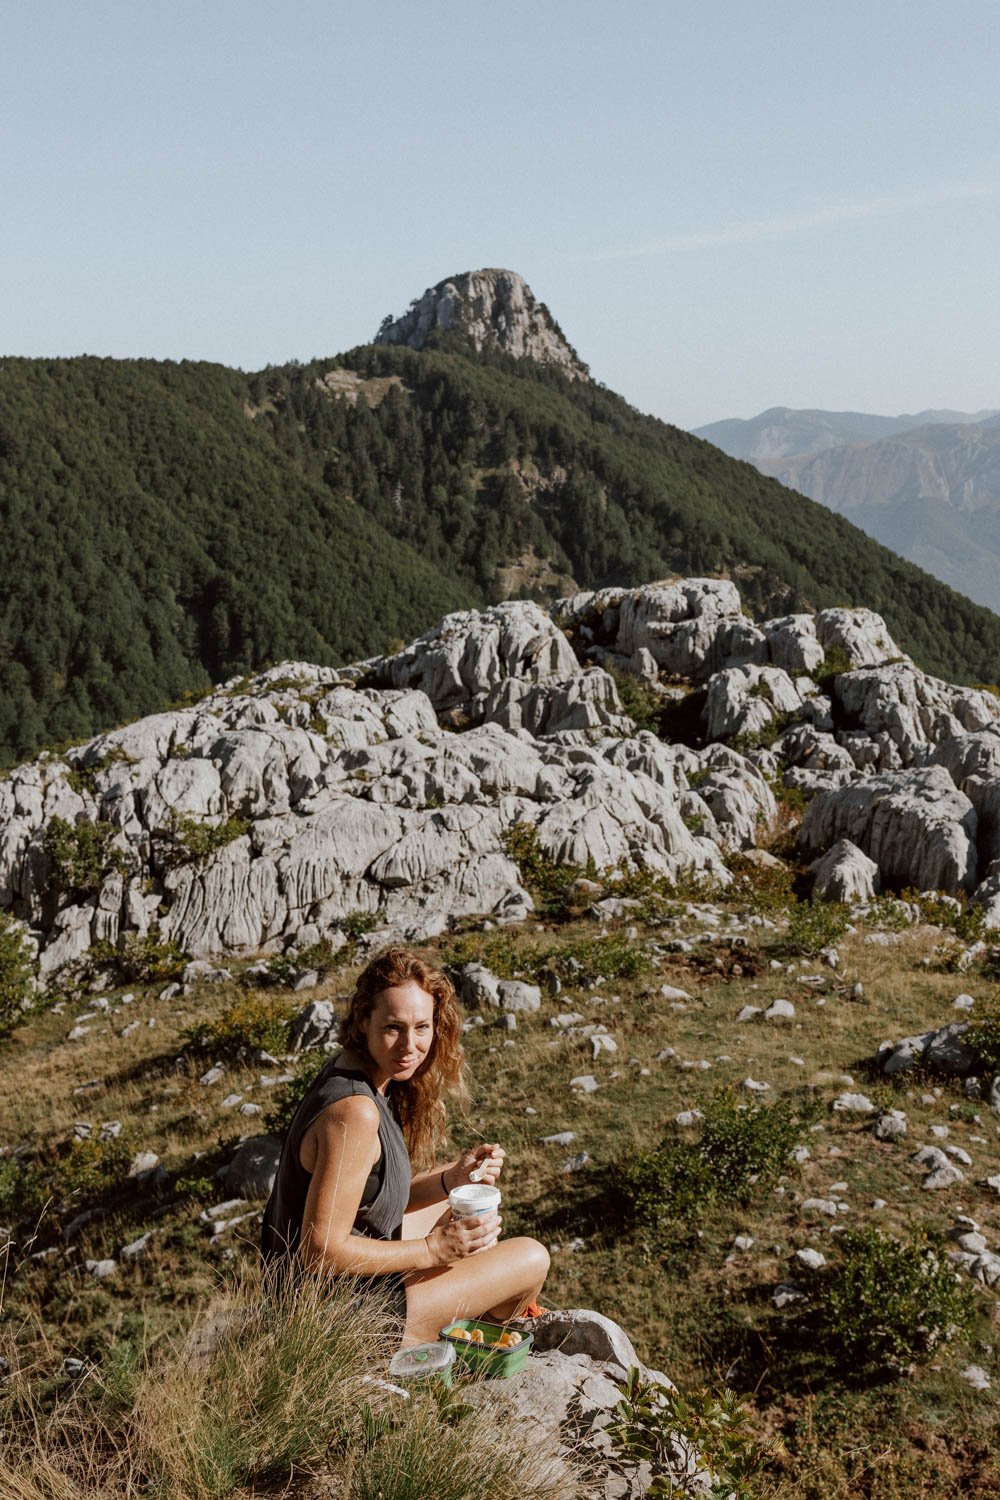
The place we suggest stopping for your breakfast / first proper break is about 15 minutes after the fork (approx. 3.5km from the start point). There’s a grassy spot to sit and enjoy the birdsong and views of a peak popping up through the pine forest, with silvery-grey karst-like formations in the foreground.
You can see Emily in it below, enjoying our yoghurt, granola, and fresh peaches.

From that spot, it took us another 25-minutes to reach the top of Vulšnica - the first of today’s trio of peaks.
That also marked the 4km point on our AllTrails route map for the Three Peaks.
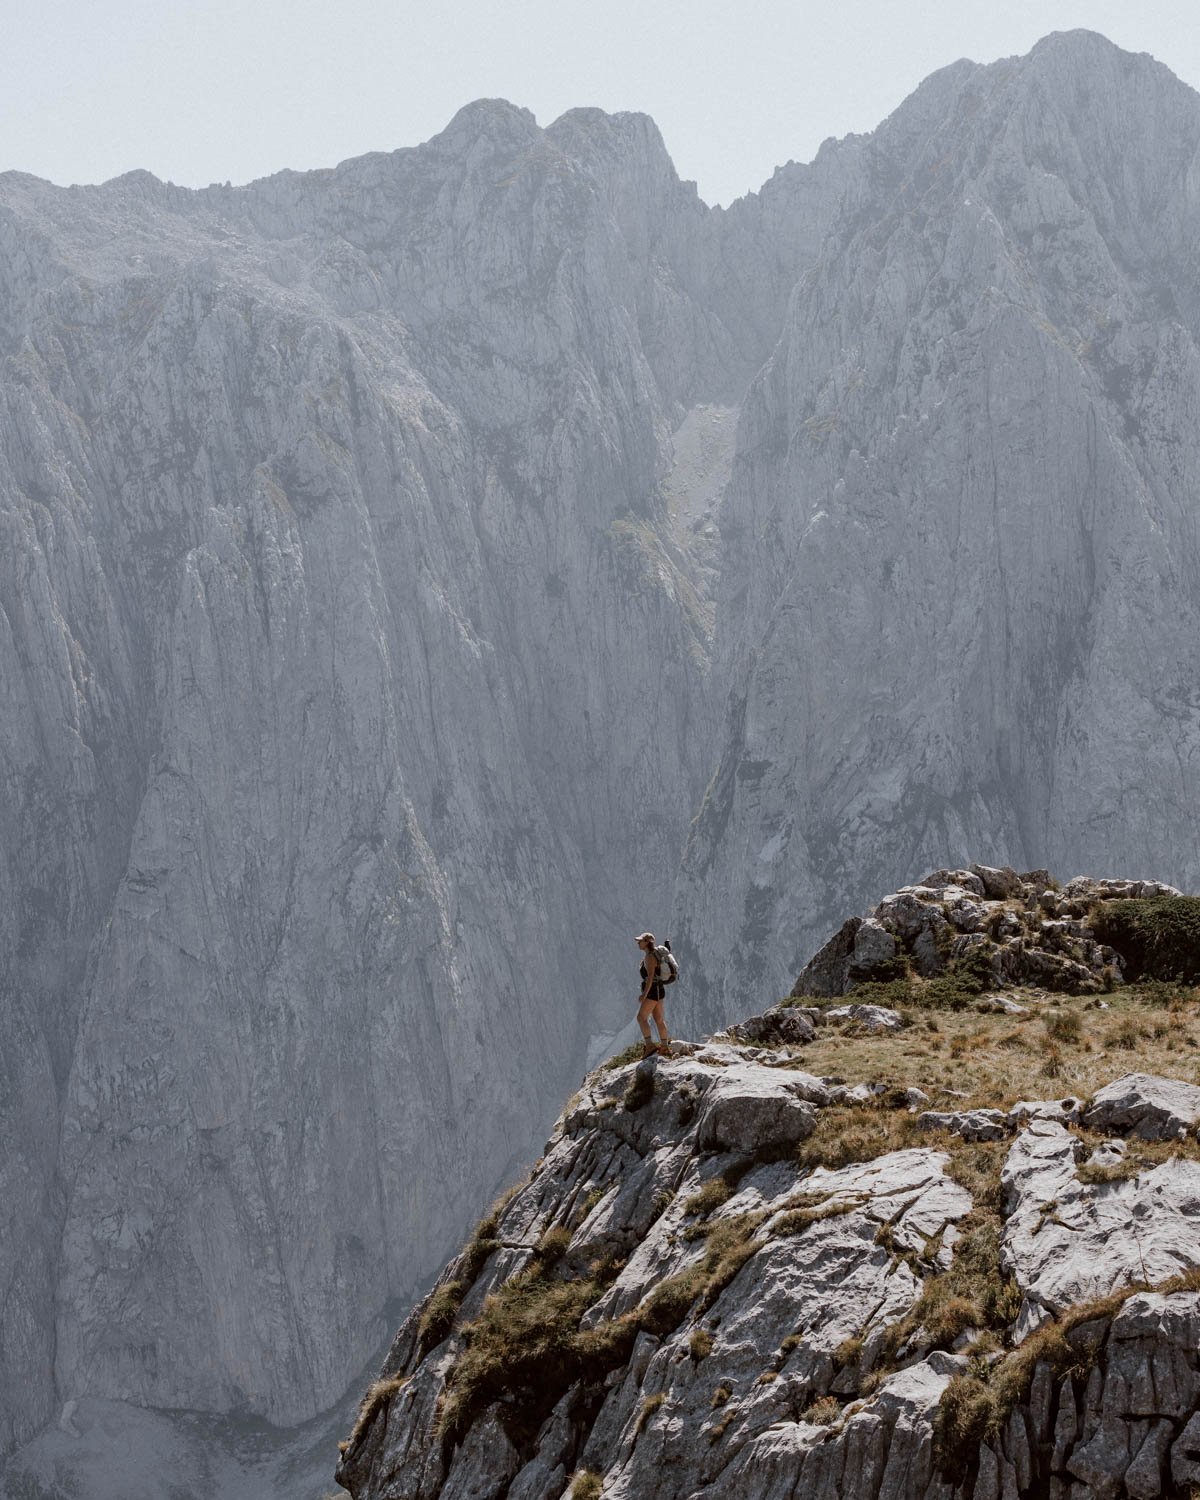
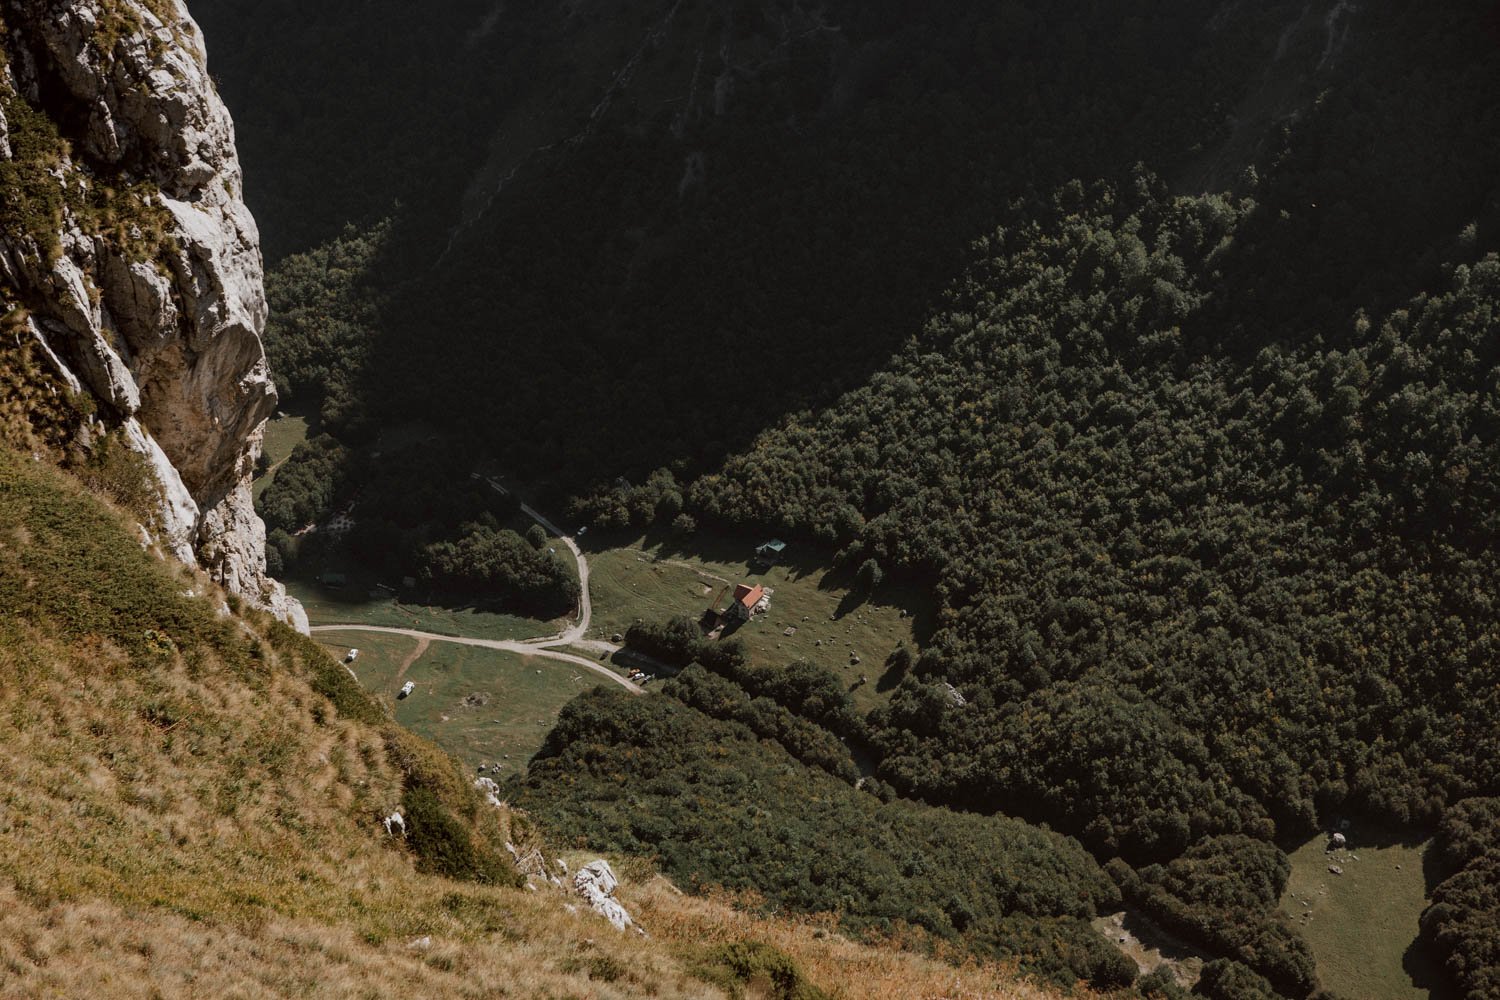
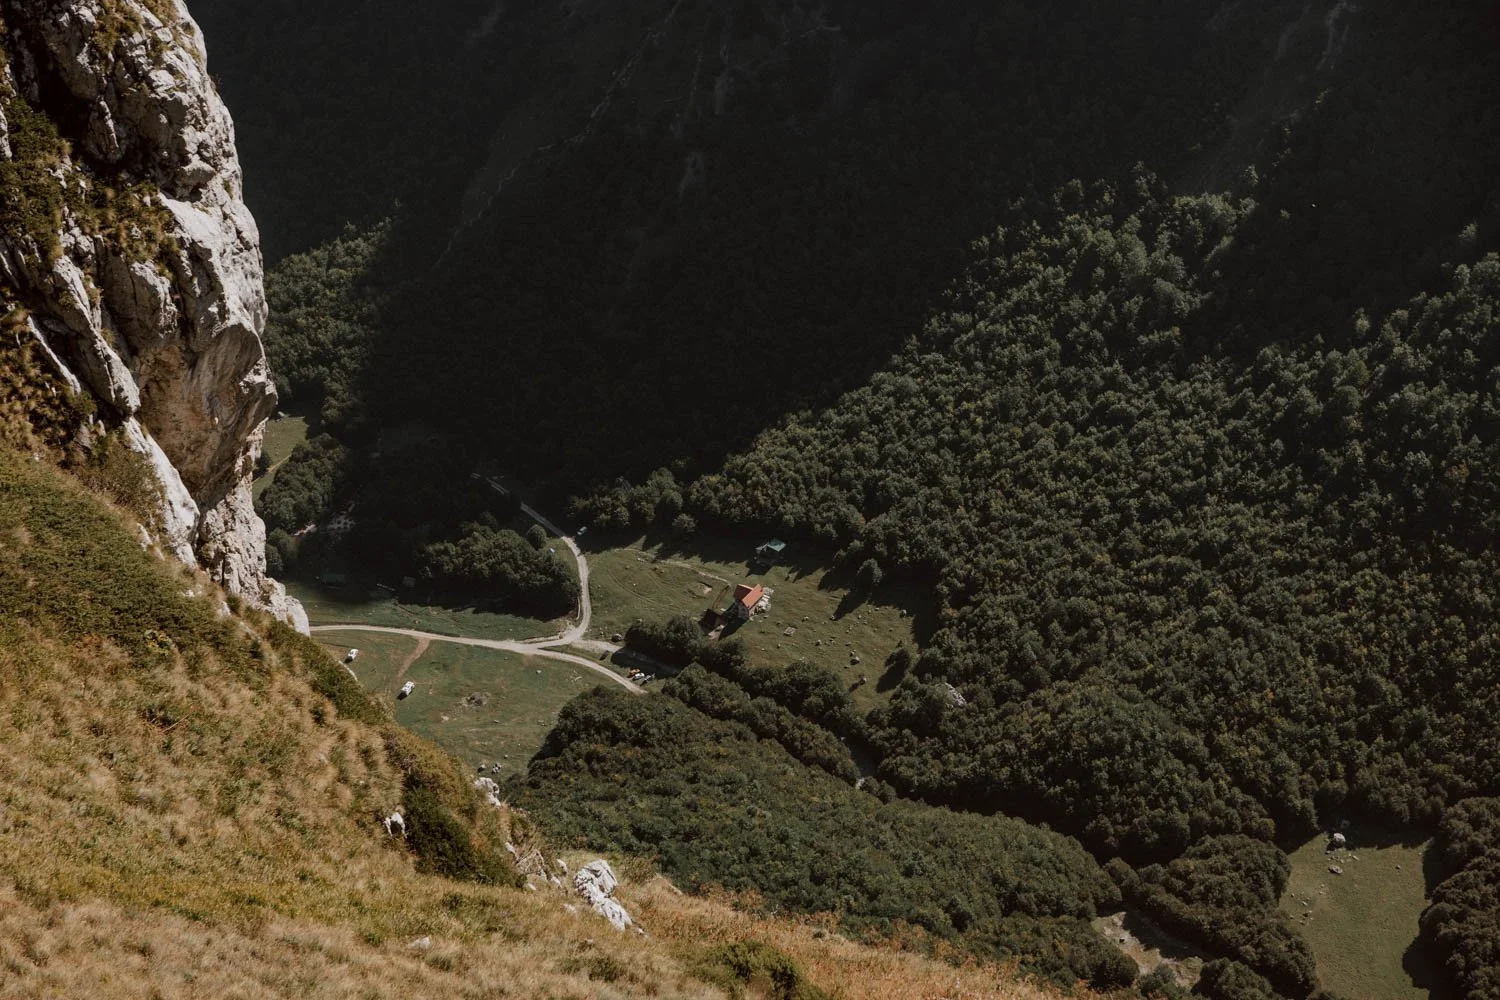
Vulšnica offers a quite terrifying glimpse down into the Grebaje Valley, serving as a reminder of you of how far up you’ve actually climbed, and a wall of silver and green across the way.
There’s also cool little ledge you can tramp down to that offers a fabulous photo opportunity, but those who’ve got vertigo or a fear of height really may not wish to linger around…
Vulšnica to Talijanka & Popadija | 2.5km | 2-3 hours | Easy
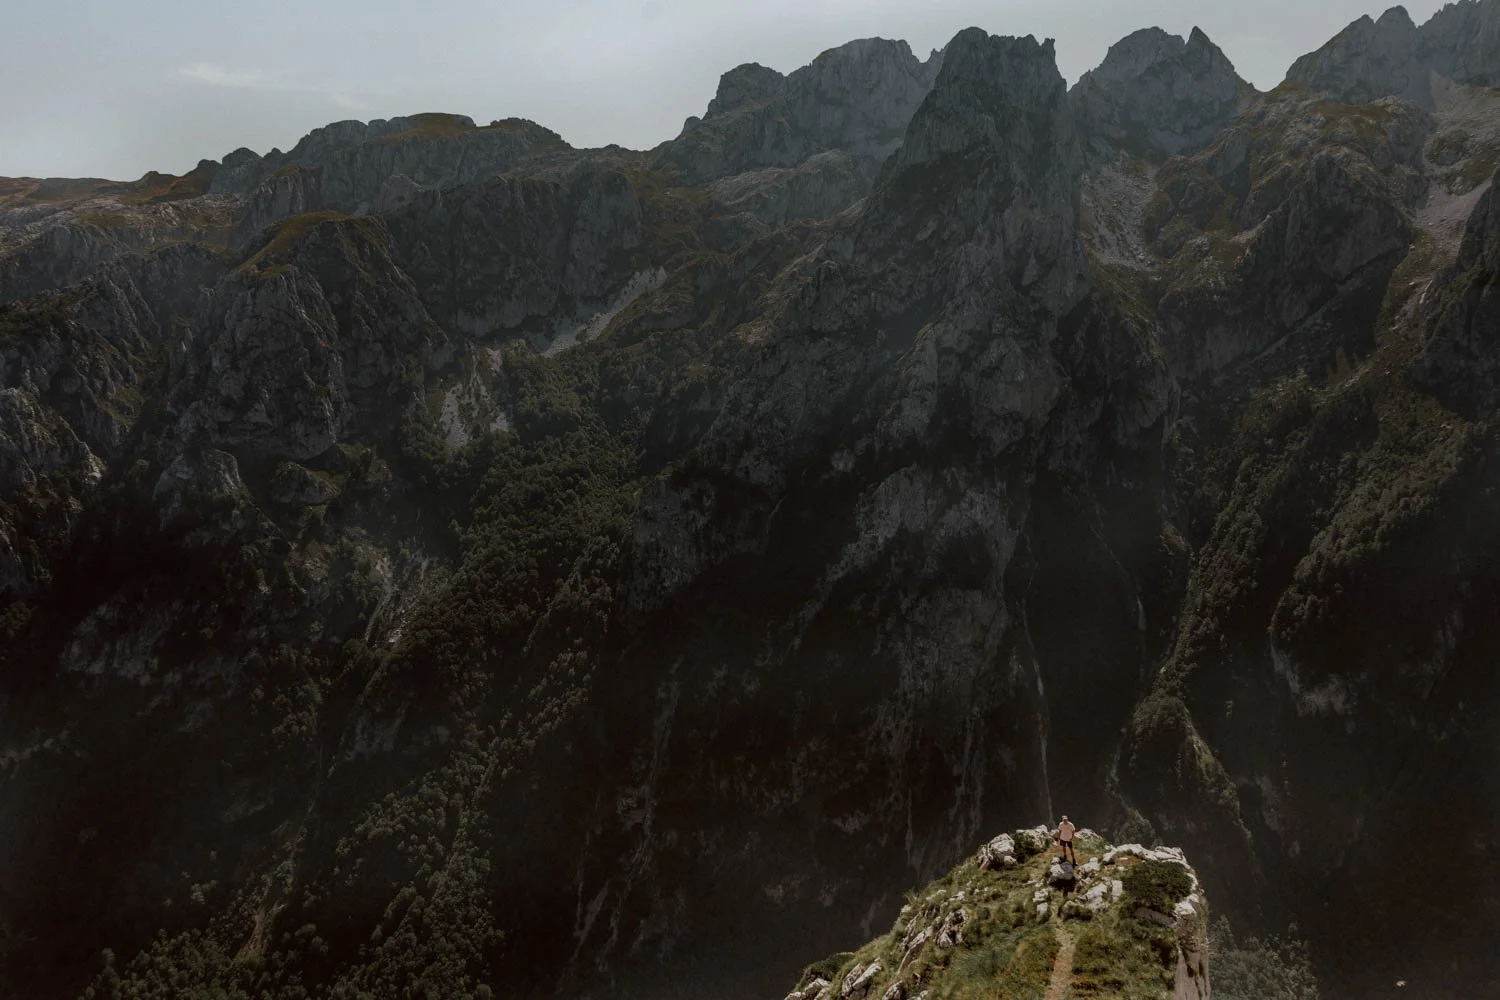
After you’re done here, it’s time for the most beautiful and enjoyable part of the whole hike. This is the section that convinced us the Three Peaks Trail is unmissable because it offers so much epic-ness without really requiring that much effort, fitness, or experience!
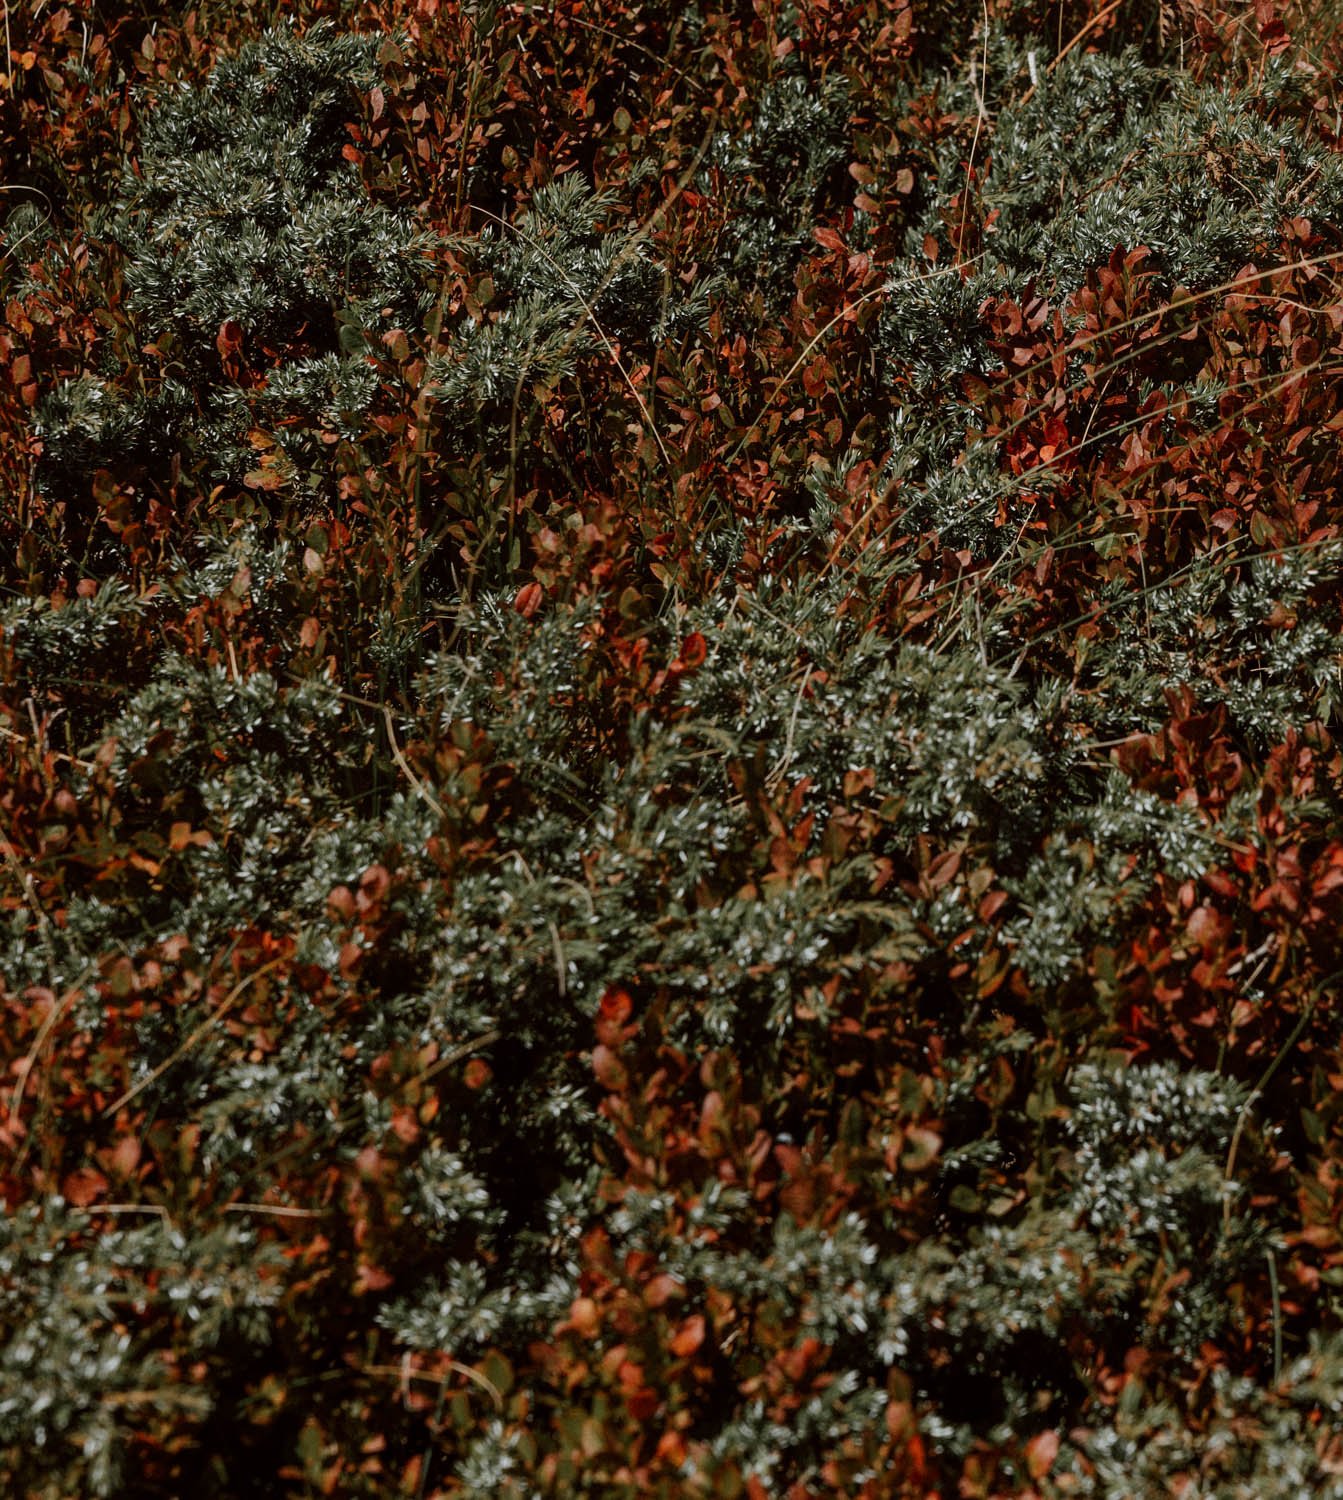
Simply follow the red and white markers down, along, and up the trail that threads Vulšnica with Talijanka. There are a few short, sharp, steep parts, but on the whole it’s a very manageable and easy-going walk amongst juniper berries and pines.
It reminded us a lot of trails around volcano crater rims in Central America, but with stunning Alpine scenery wherever you cast your gaze instead of dark, arid terrain.
We were both so happy up there, and spent way longer than planned, so timing estimates are very loose to cover the short distance.


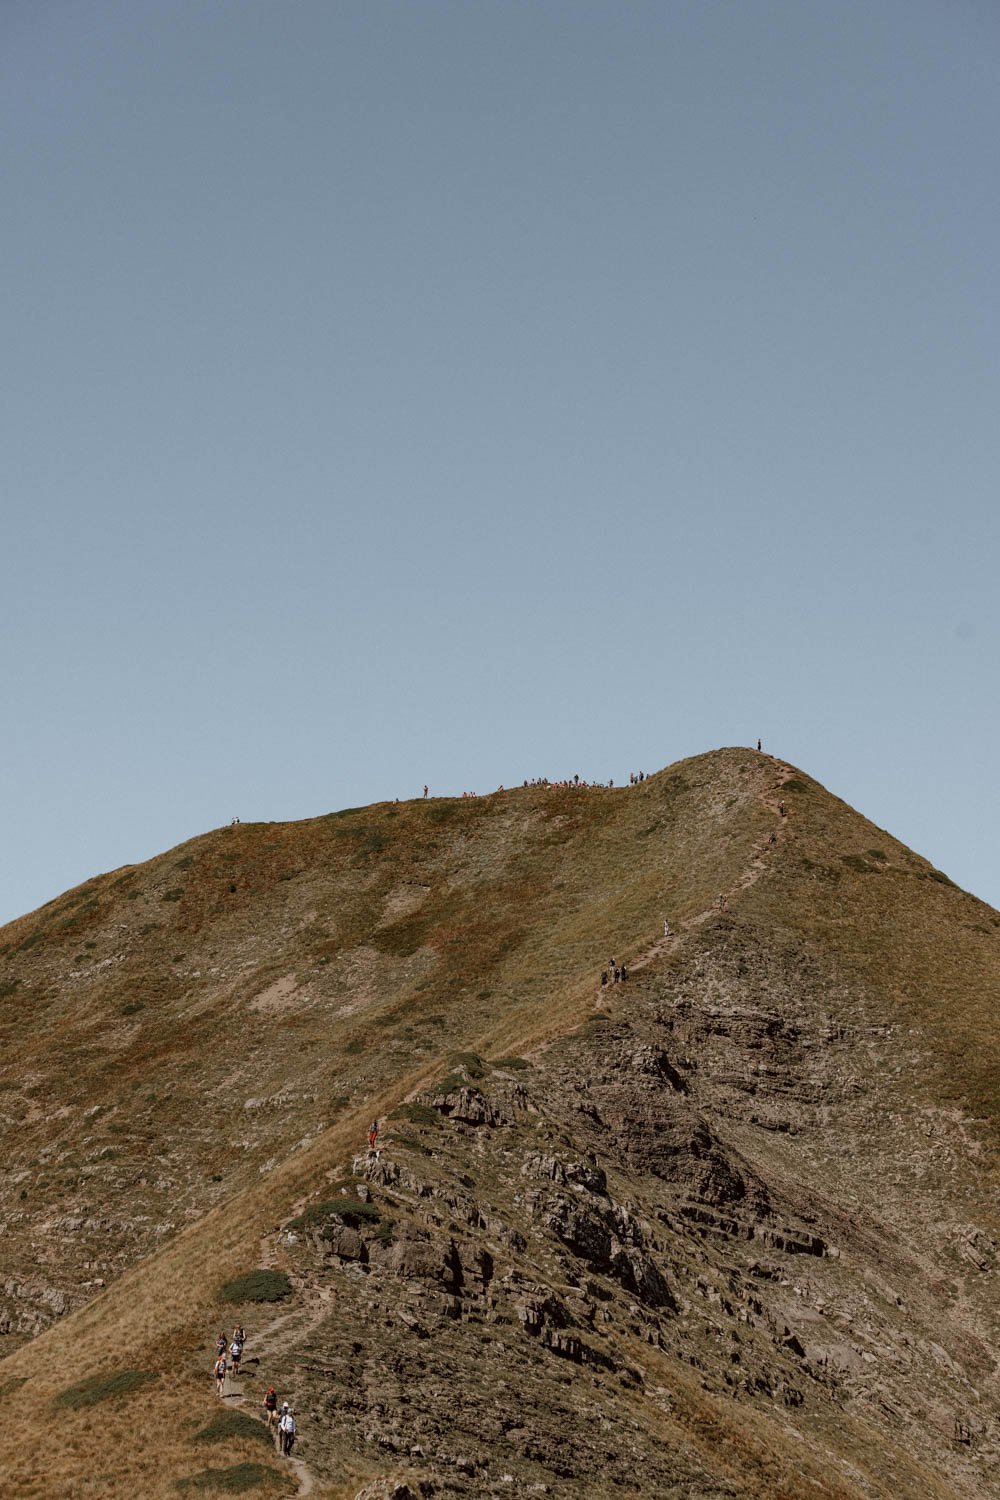
You’ll arrive at the tippy top of Talijanka almost bang on 6km from the start point.
At 2,057 metres, it’s the highest peak of the three and a natural point for hikers to take a break - especially those who took the right at the fork as they’ll have just come to the end of that hardest part of their hike.
The top of Talijanka is also the place where hikers from both directions converge, and was the most congested part of the trail.
Despite being the apex - and forming the border between Albania and Montenegro - we’d suggest that it’s not actually the most scenic point of the loop and recommend taking the time elsewhere to really savour some of the vistas and less obvious panoramic views of the ridges and mountains between Vulsnica and Talijanka.
Once you’re done there, it’s just 500 metres onwards to Popadija via the wee descent into the dip.


The Descent | 4.1km | 2 hours |Moderate
The way down from Popadija is steep and unforgiving on the knees, so take it at your own pace and try to avoid falling on your backside.
Once that’s completed, you’ll follow the trail to the right (possibly via a local man offering horse rides) and continue on a gentle ascent amongst wildflowers toward the valley with the fork in the road.
It’s then just a case of rejoining the same trail through the forest, which will take you all the way back down to where you started in Grebaje Valley. The only real area where you could go wrong here is taking a left down to that restaurant in the valley, instead of keeping right on the path straight back to the car park at the start point.
At this point, you’ll possibly be craving an ice cold Nikšićko beer or two, and we recommend going to Pavićević Restaurant. It’s got a big outdoors seating area, and the post-hike fried trout and chips we ate did just the job - find it here on Google Maps.


Where Should You Base Yourself?
As mentioned, we’d originally planned to base ourselves within the Grebaje Valley but left it too late to book anything decent (the only affordable option was a shed with awful reviews).
That turned out to be a blessing in disguise though, as this huge, new countryside A-Frame was much cheaper and only 20-minutes drive away. That turned out to offer a more remote and peaceful setting overall - with its own view of surrounding peaks - and an excellent taste of the Montenegrin rural ideal.
That experience is why we’d say road-trippers shouldn’t feel tied to the Grebaje Valley: you can find better value and more peaceful stays in the surrounding countryside.
However, for those of you depending on public transport, then staying within the valley is going to be the better choice. Peaceful and scenic, it allows you to be amongst the first (or last) on the trail and conveniently access other hikes within the area.
Same goes for campervanners as there’s a big site there.
The other two main alternatives are Plav and Gusinje, both of which have direct bus links with Podgorica. We spent quite a bit of time in Gusinje and, whilst it has a few restaurants, cafes, and other things, its main selling point is the proximity to the Grebaje Valley. It would be fine for a night or two, but the town doesn’t offer any sense of nature or the mountains you’re coming this way to enjoy. In contrast, with its lake and traditional houses, the larger town of Plav would be our pick between the two if you prefer to have a base with amenities on your door step and transport links.
The small town of Vusanje (maps) pops up as an option, but we think it’s too far away if your priority is doing the Three Peaks Hike in Grebaje Valley.
So, our order of preference (if you have a car): the Grebaje Valley or countryside (if you’ve got a car), then Plav, then Gusinje if there’s nothing else.
The Grebaje Valley | Just minutes from the Three Peaks trailhead are a variety of accommodations offering standalone wooden chalets. A few with excellent reviews include WildBeauty, Bungalows Tuzovic Prokletije and Bungalows Katun Maja Karanfil.
The Surrounding Area | We honestly can’t recommend our little A-frame enough but if it’s not available, check out Peaks of Prokletije.
Gusinje | The best place to stay in Gusinje is the traditional Kula Nekovic but Lejla's guesthouse is a simple alternative.
Plav | Located a 30 to 40 minute drive from the trailhead we wouldn’t really recommend this town as a base to do this particular hike. With that said, it is quite pretty and a couple of our instagram followers chose to stay there. Take a look at Rooms Lida & Friendly Home and Emina.

What You Need & The Hike Better Tips
· This hike can done independently without a guide.
· Starting before 9am is going to give you the best conditions and fewer bottlenecks, but it’s not a deal-breaker. We started at 7:20am and were amongst the first on the Three Peaks trail.
· We alway recommend bringing an offline map of a hiking route (we use AllTrails), but as The Three Peaks hike is a very clearly marked out-and-back, it’s not as vital.
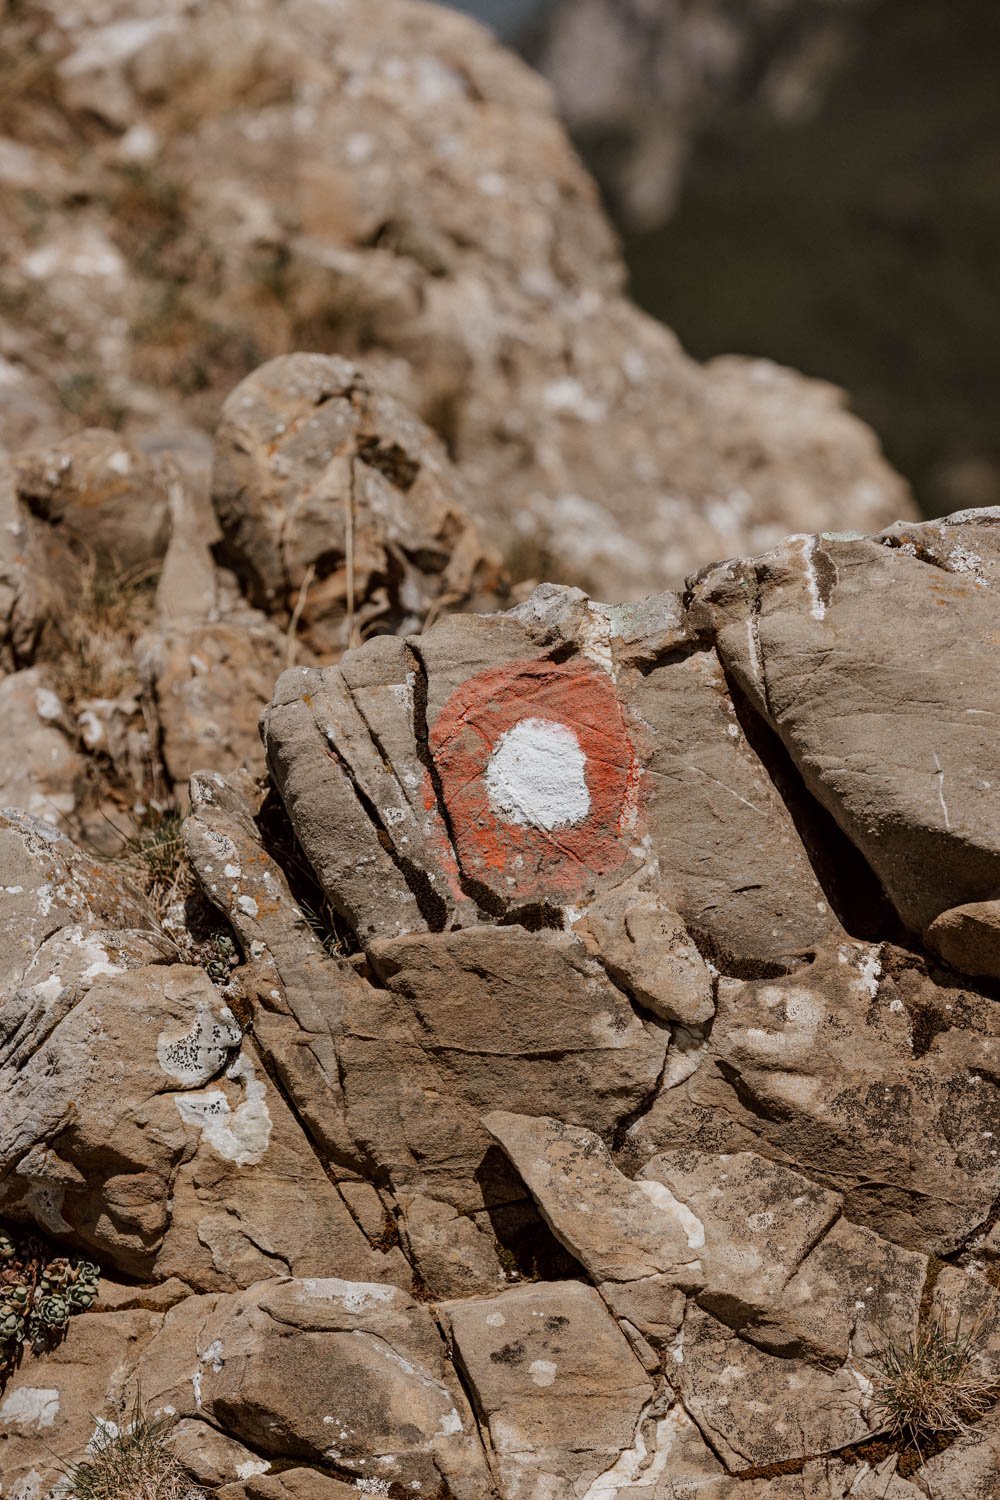
· The red and white way markers frequent, clear, and well-positioned. If you follow them, you’ll be fine and just take a moment to find one if unsure. Note that some have an 'arm' or 'pointer' on the circle to indicate which direction you should aim for.
· Go longer, not quicker. There really is no point rushing through this - instead take your time and savour the incredible views and nature. There’s a very good reason that we spent almost seven hours doing the Three Peaks when the whole thing could easily be completed in under five hours.
· Remember to look back! Doing the hike in the direction we did meant that frequently the most spectacular view was behind us. That doesn’t necessarily mean you should go right at the fork, as it’s probably the same situation if you go that way.
· A pair of broken-in hiking boots are absolutely the best choice. If you’ve not brought any, then the next best option are a sturdy pair of sports trainers - don’t even think about doing this sandals or flip-flops.
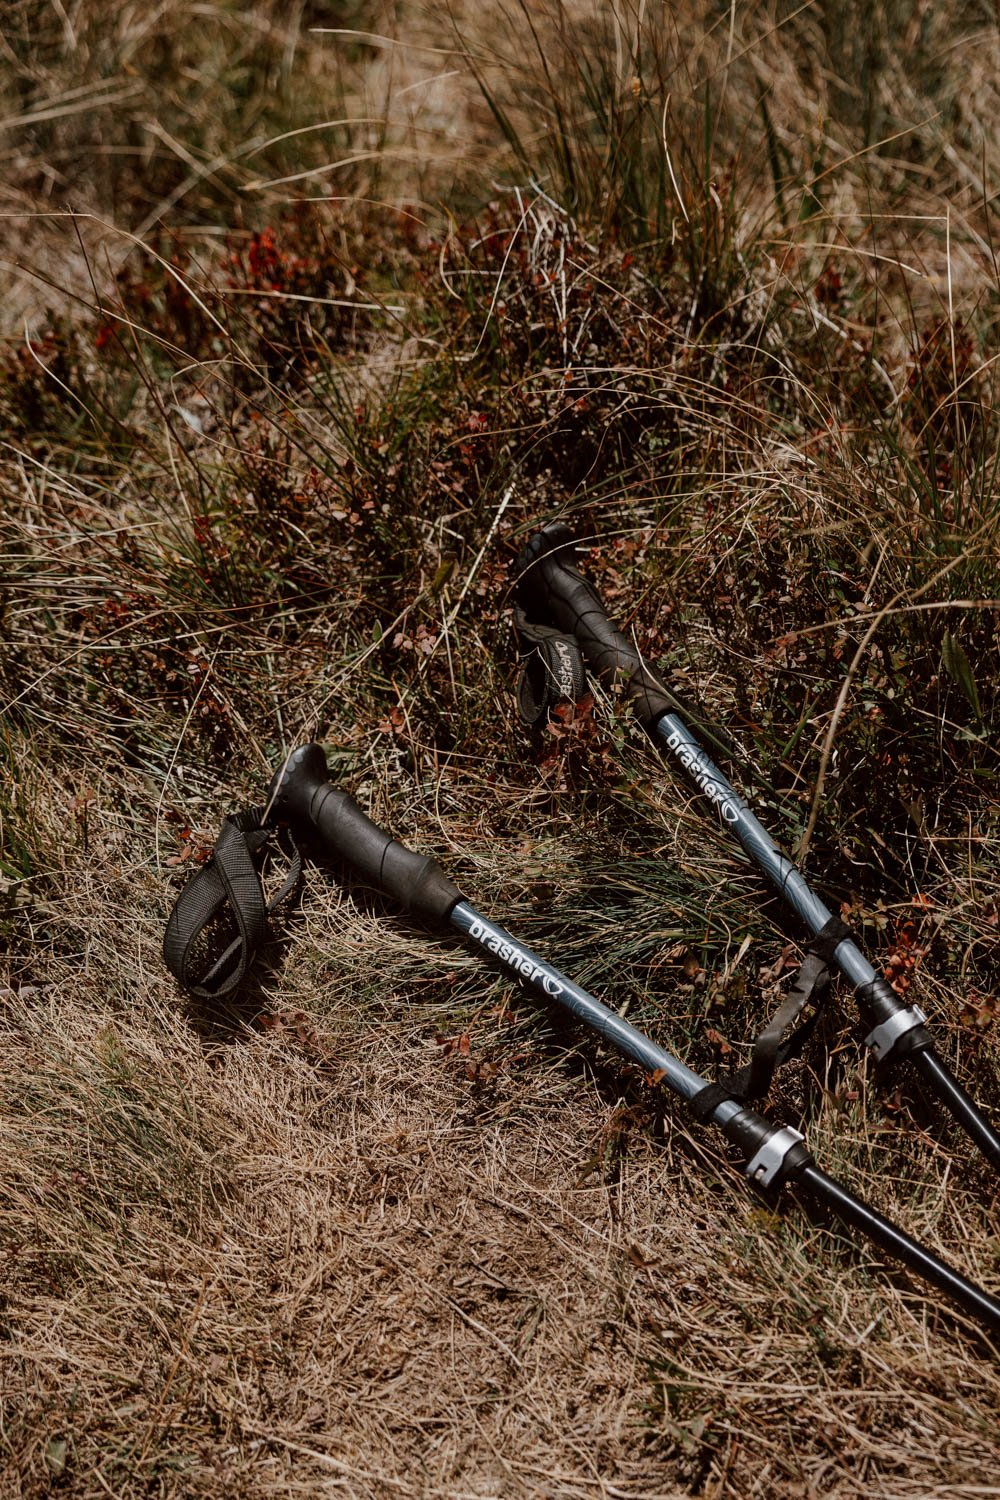
· If you’ve got hiking poles, take them for this hike. We brought our collapsible poles for our Montenegro hikes, and they were ideal.
· You really need to watch your footing on the way down, and a slip, stumble or potential arsefall is more likely on tired legs.
· There is little shade or cover available on the hike, so bring a hat and suncream.
· This hike should only be attempted by most from around May to the end October, and you should always check weather conditions the day before you hike and on the morning of.
· It’s best to prepare for changeable weather and contrasting conditions: everyone should have at least one additional layer.
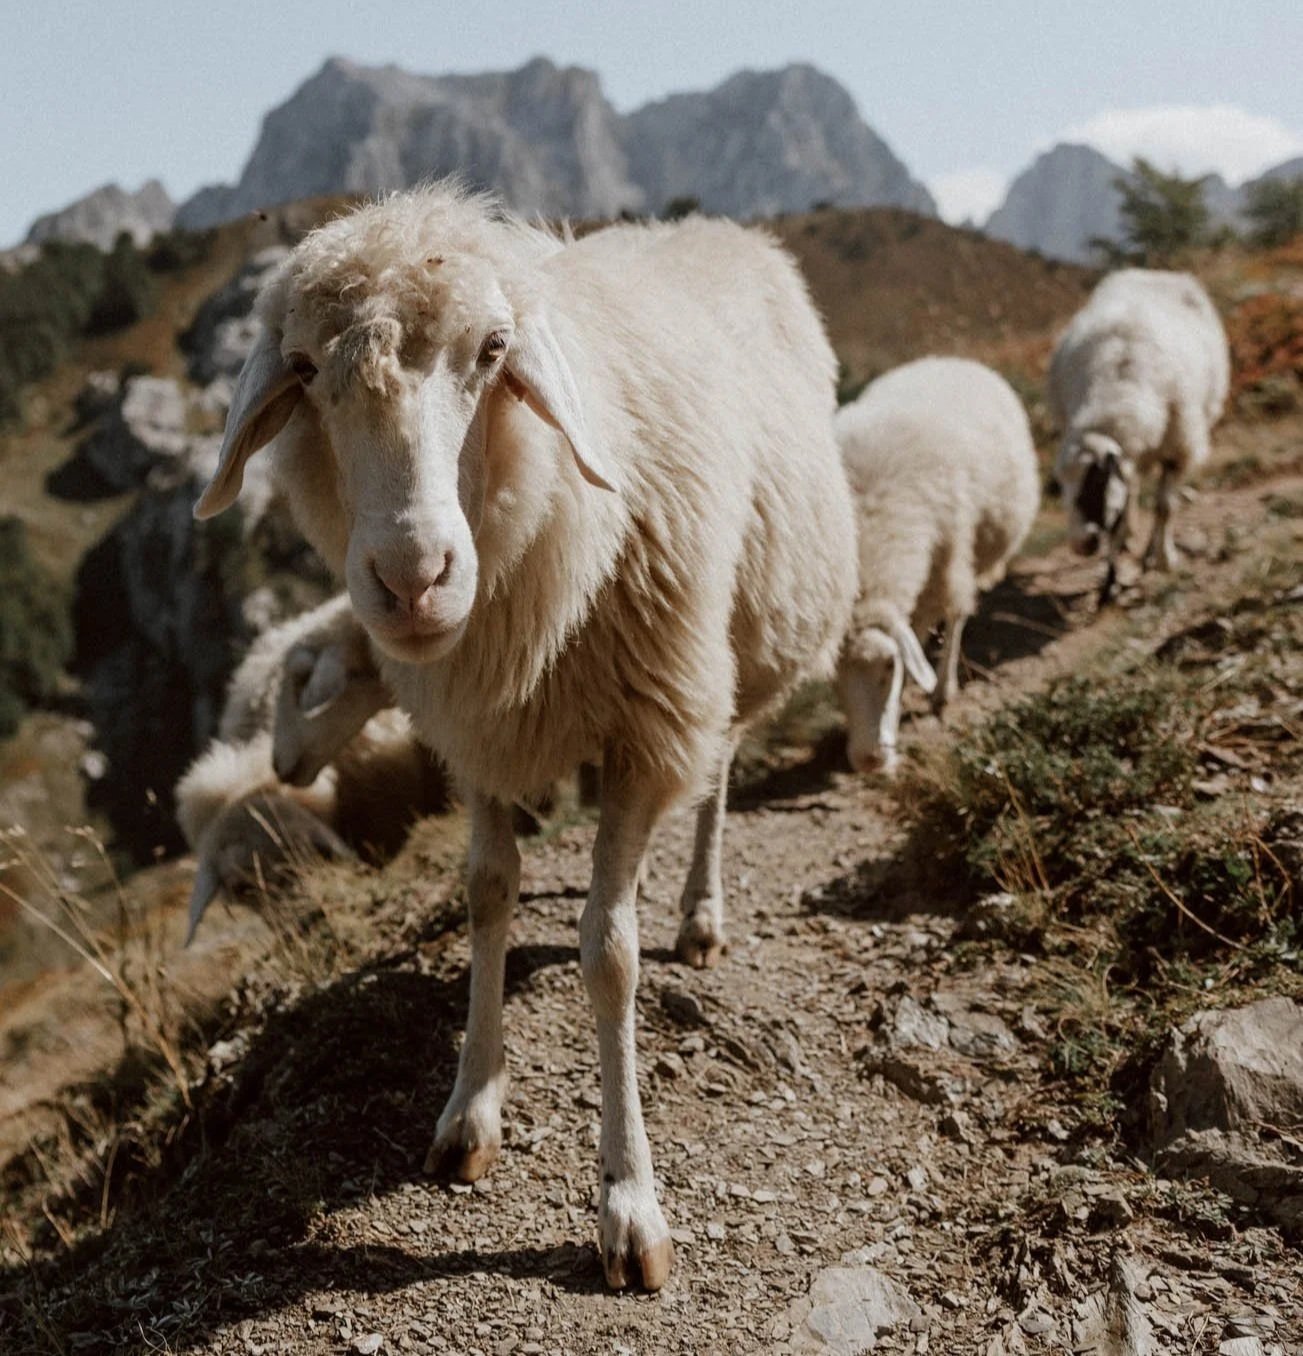
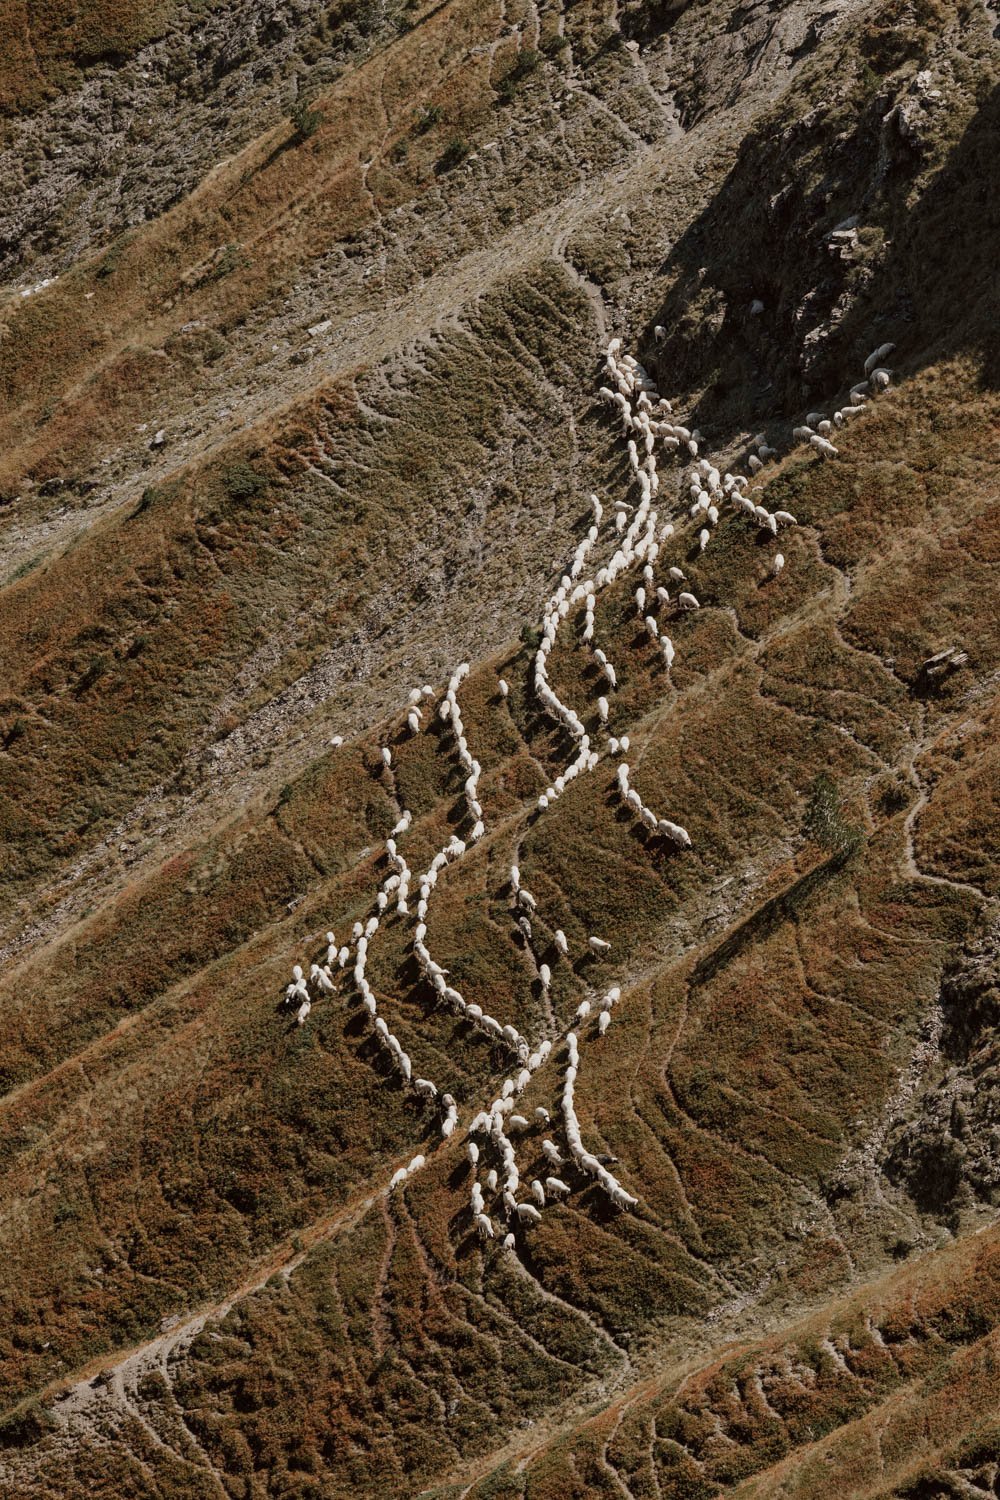
· There was a large herd of sheep making their own migration across the peaks when we hiked this route. They only intersected the trail a couple of times, but if you come across them don’t do anything that could alarm or upset them - they are incredibly tame (we’re countryside folk, and these are some of the least skittish sheep we’ve ever encountered), but they deserve your best behaviour all the same.
· There are no facilities or shops on or around the trail, so you need to bring in all water and supplies. There are bakeries and supermarkets in Plav and Gusinje.
· Two litres of water per person is a minimum. There was a spring at the very beginning of the hike but we didn’t see any other places to fill up.
if you want to avoid crowds at the beginning, we suggest hitting the trail before 9am.
· Whether starting early or not, we recommend packing a breakfast or lunch - this is a special place to sit and enjoy it.
· A hike is only as good as the snacks you take, and sweets are a good back-up to have if your energy is running low on the way down.
· Orange peel and banana skin take ages to decompose and are litter - don’t leave them on the trail and bring out everything else you bring in.
· Want more advice? Read 10 Things To Know Before Hiking in Montenegro


